


How to make a violin 6 Paint
04 Jul 2023
0 comments
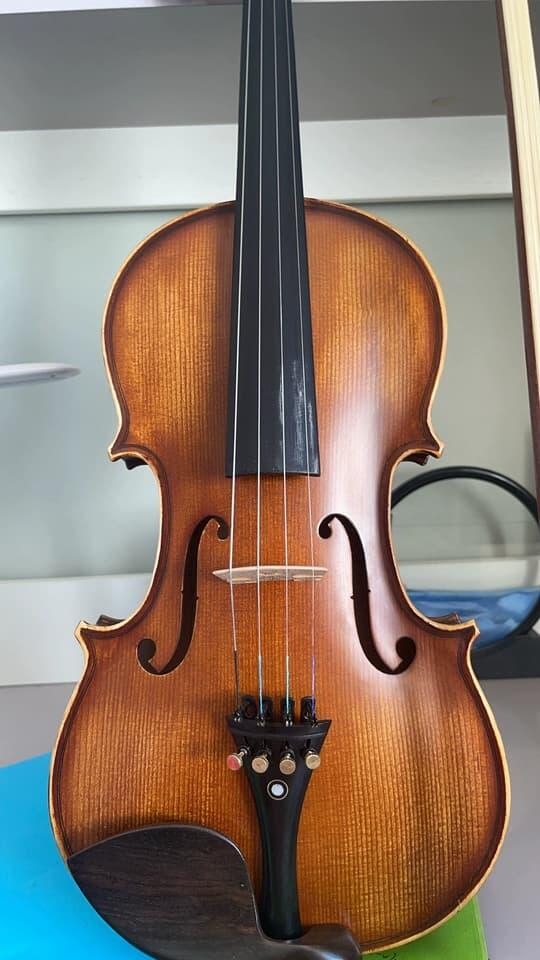
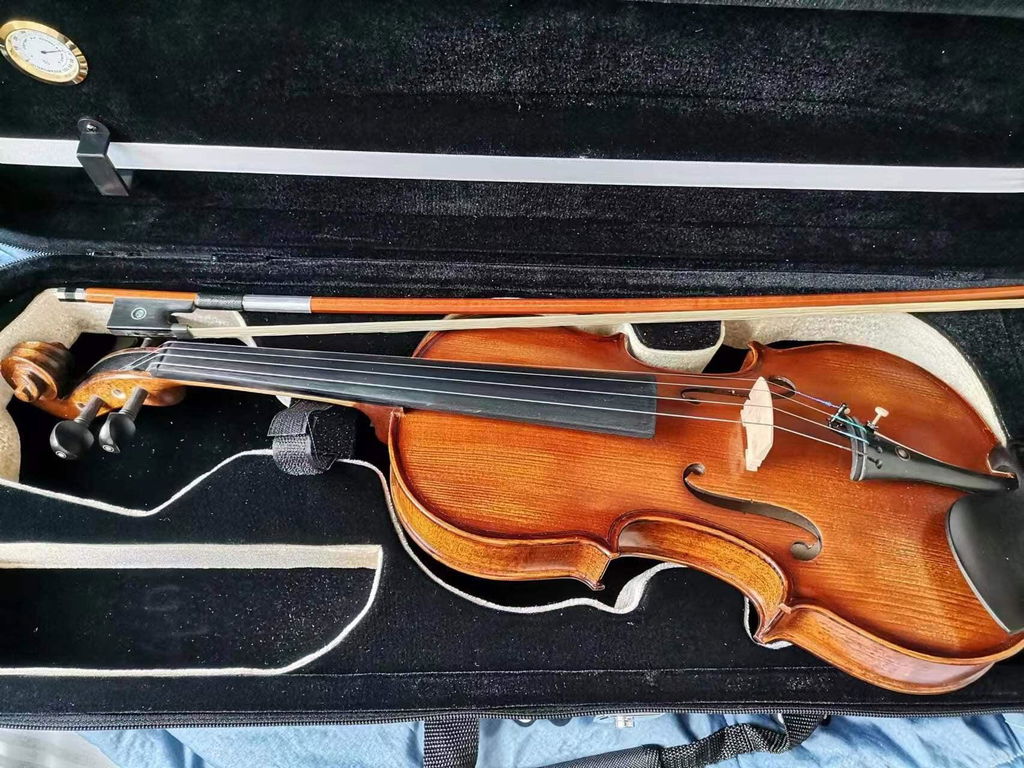
The exciting moment is coming, the white embryo of the violin has been prepared, and now it only needs to be painted, which is another very time-consuming process. There are two layers of paint on a violin: a primer and a top coat. The primer is generally transparent, and then the colored topcoat is applied layer by layer. Different formulas and different drying times will change the color of the topcoat, so we can see the ever-changing colors of the violin. The formula of the paint is also the secret of the masters, just like the glue. The better the violin, the more layers of topcoat, and the longer the drying time, but not infinitely longer (a violin with 100 layers of paint will not vibrate). In addition, the paint is roughly divided into oil paint and alcohol paint. Alcohol paint is easy to dry, but it is relatively hard (meaning that the sound transmission performance is relatively poor). It is generally used for low-end violins. Oil paint is slow to form, but it looks better with time, generally used as a high-end violin, the disadvantage is that the oil-based paint is soft, and it is easy to have gravure marks under the bridge and cheek rest.