


Six Essential Tips for Beginners Practicing Violin Fingerings
For many beginners, playing the violin can feel challenging—especially when it comes to the left-hand fingerings. While the bow draws the sound, it’s the left hand that controls intonation, clarity, and accuracy. Developing flexibility and proper finger placement early on is the foundation of good violin playing.
Some students use fingerboard tapes to help find the correct notes, which can be useful at first. However, true progress comes from training your ears and hands to naturally find the right intonation. If you’re a beginner wondering how to practice violin fingerings effectively, here are six essential tips to guide your journey.
1. Keep Your Left Hand Flexible – Don’t Grip the Neck Too Tightly
Your left hand touches the violin at three points: the fingertips pressing the strings, the side of the index finger joint, and the thumb. One of the most common beginner violin mistakes is gripping the neck too tightly with the thumb and index finger. This causes stiffness and slows finger movement.
👉 Beginner tip: Keep your thumb relaxed and make sure your fingers can move freely. A flexible hand makes practicing violin fingerings much easier.
2. Should You Use Fingerboard Tapes?
Many new players start with violin fingerboard tapes to find accurate notes. While this helps in the beginning, relying on them too long will hold back your progress.
👉 Instead, practice listening carefully and trusting your muscle memory. This will develop your sense of pitch and make your intonation much more reliable over time.
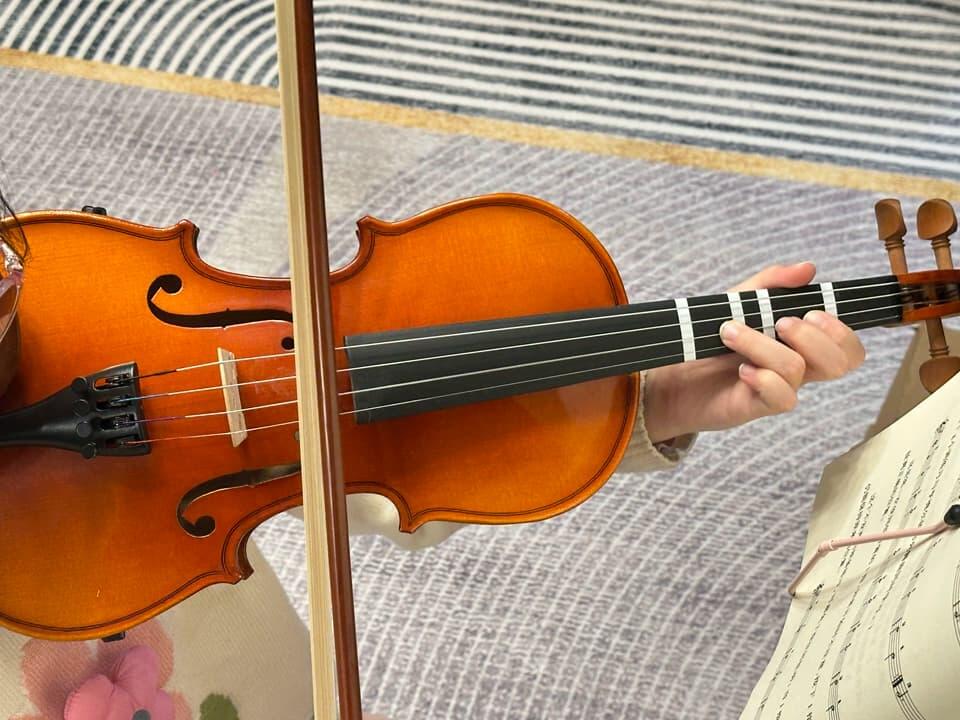
3. Always Press with Your Fingertips
To achieve clean intonation, always press the string with the tip of your finger. Using the pads or nails often leads to unclear or out-of-tune notes.
👉 Yes, pressing with fingertips can be uncomfortable at first, but it’s a necessary step. With consistent practice, your fingers will adapt and become stronger.

4. Keep Your Wrist Straight
A bent wrist is another common issue for beginner violinists. Holding the wrist inward or outward adds unnecessary tension and makes it harder to reach higher fingers.
👉 Keep your wrist straight and aligned with your forearm. If your third and fourth fingers feel out of reach, check your wrist position—it’s often the reason.

5. Practice “Finger Retention”
Finger retention means keeping a finger down until the next one is placed. For example, when playing with your first finger, don’t lift it immediately after pressing the second finger.
👉 Benefits of this exercise include:
-
smoother, connected sound between notes
-
better finger independence and agility
-
fewer squeaks and unwanted noises during string changes
-
preparation for double stops and chords
6. Warm Up Your Left Hand Before Practice
Cold hands or stiff fingers can make playing difficult, especially in winter or after a break. Without warming up, beginners are more likely to feel discomfort or even cramping.
👉 Try gentle violin warm-up exercises such as stretching fingers, rotating wrists, or light hand squeezes before playing. This simple step will keep your practice sessions smooth and enjoyable.
🎻 Final Thoughts
Learning the violin requires patience, but paying attention to these small details can transform your playing. By practicing good left-hand fingerings early, you’ll build a strong foundation for advanced techniques and beautiful sound.
Do you have your own beginner violin tips or favorite fingering practice routines? Share them in the comments—we’d love to hear from you!
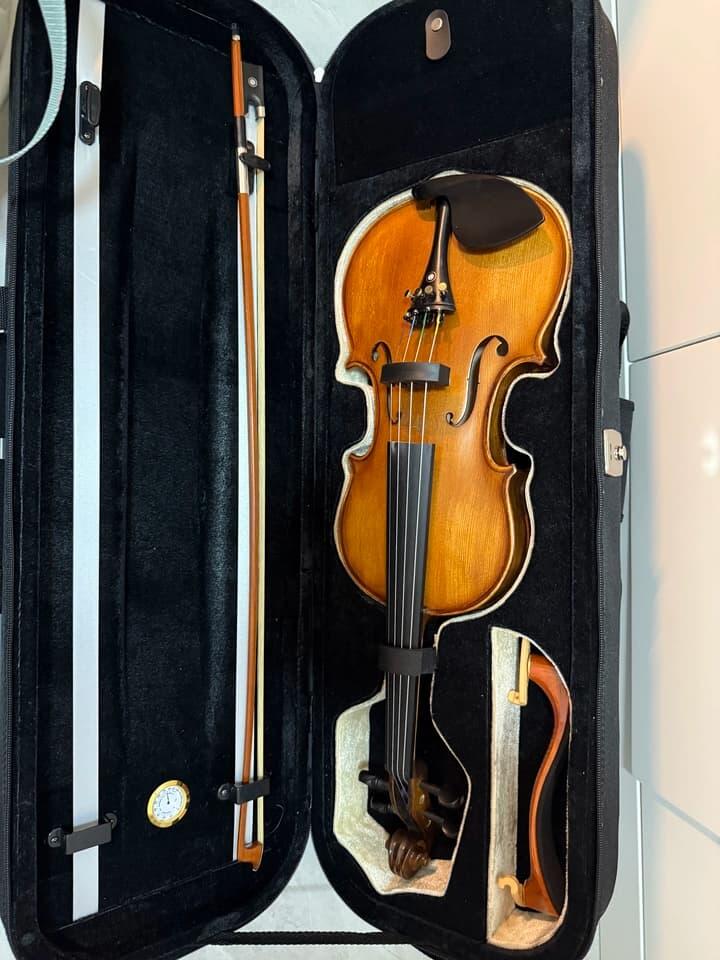
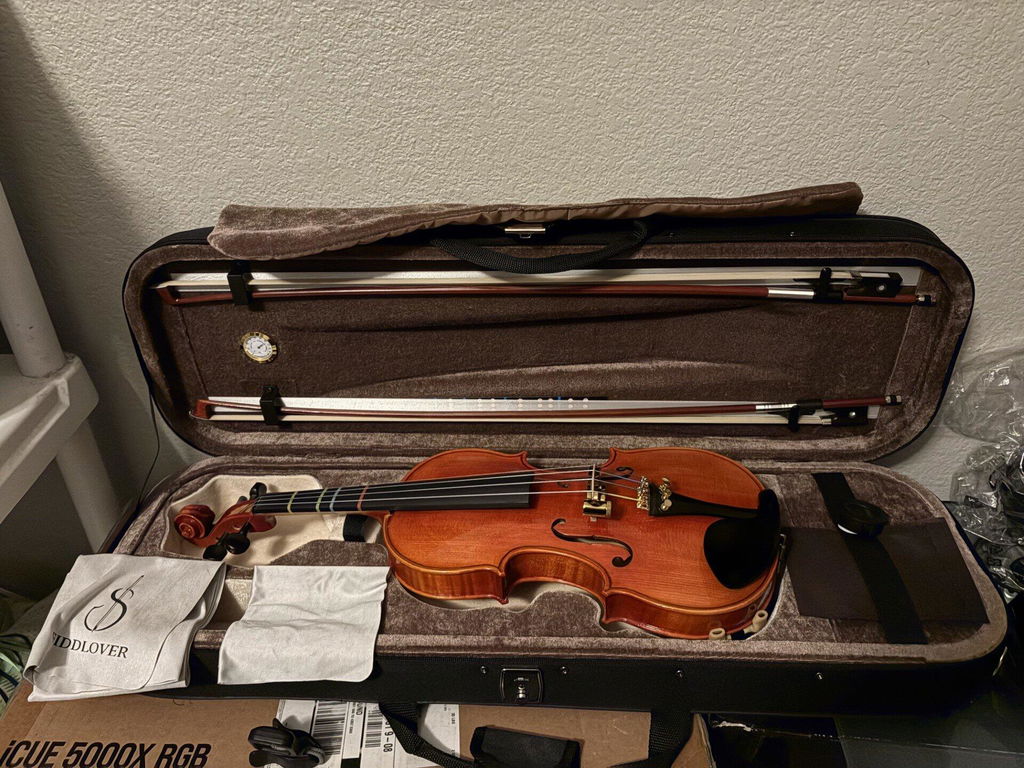
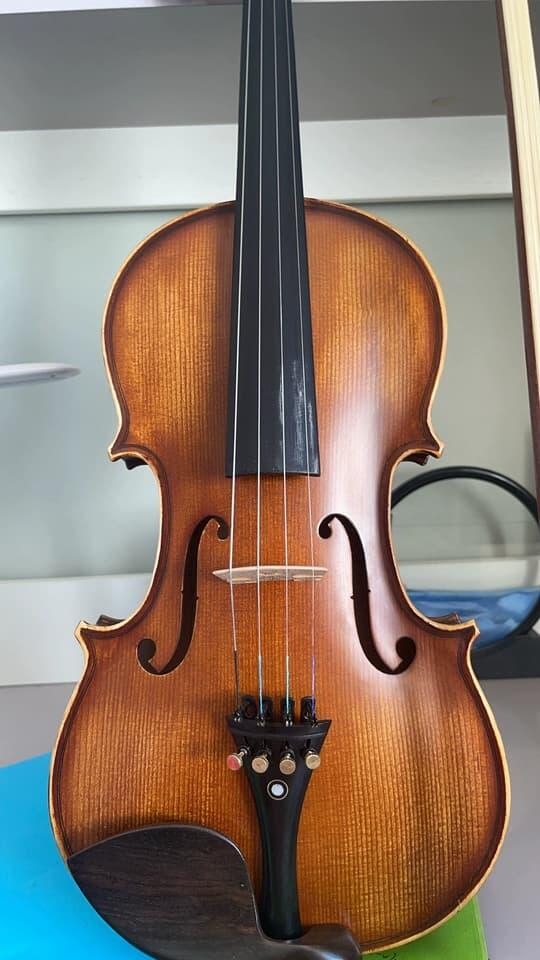
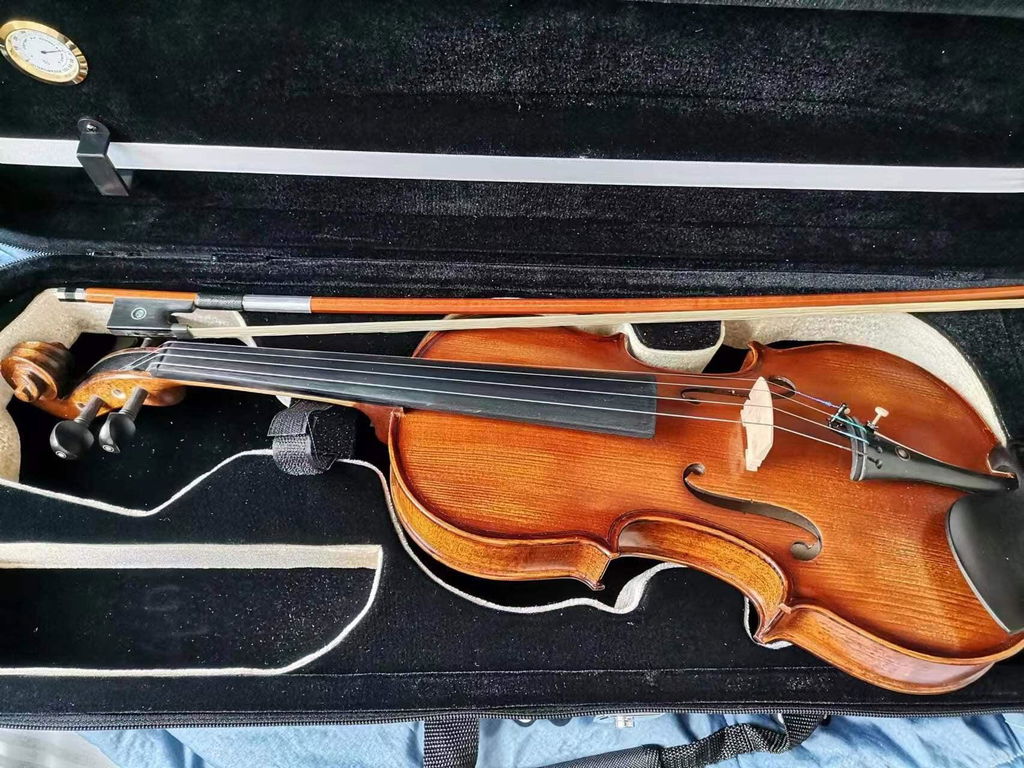
👉 Looking for the best violin to start your journey? At Fiddlover Violin Shop, our Q033 beginner violin outfit is specially designed for students. With excellent sound quality, reliable setup, and an affordable price, it’s the perfect choice for beginners.