


How to Rosin a Violin Bow: A Step-by-Step Guide
Applying rosin to your violin bow is essential for producing a clear and resonant sound. Without rosin, the bow hair will glide over the strings without producing sufficient friction to create sound. Whether you are a beginner or an experienced player, properly rosining your bow ensures optimal performance. Here’s a step-by-step guide to help you do it correctly.
What You Need:
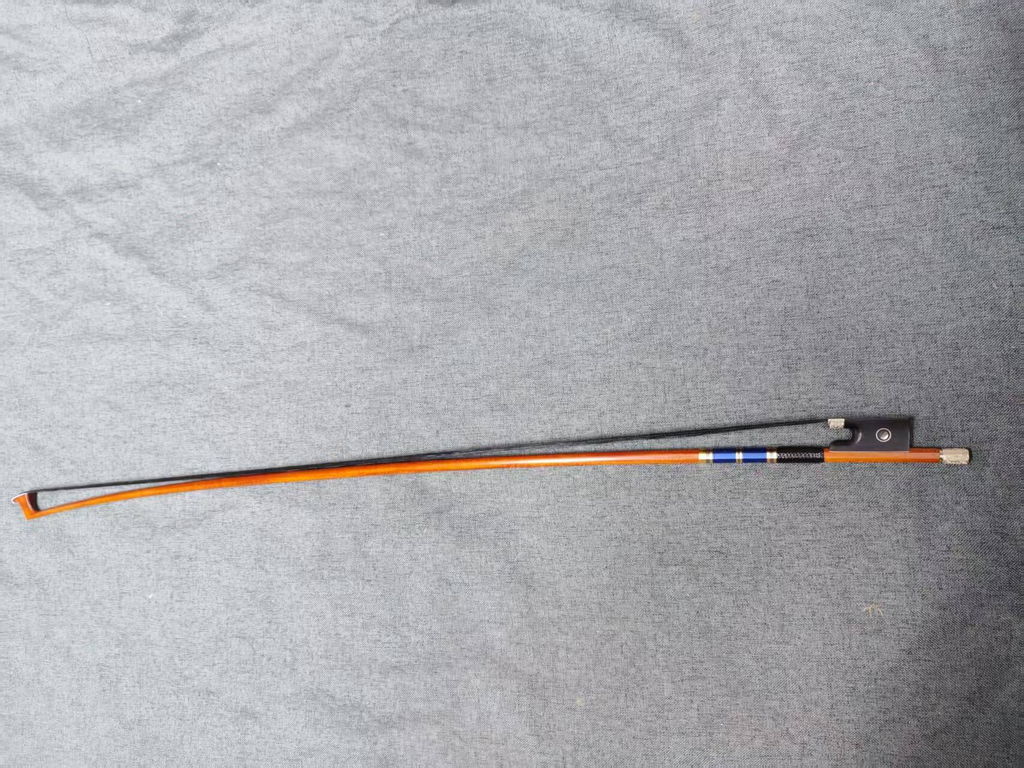
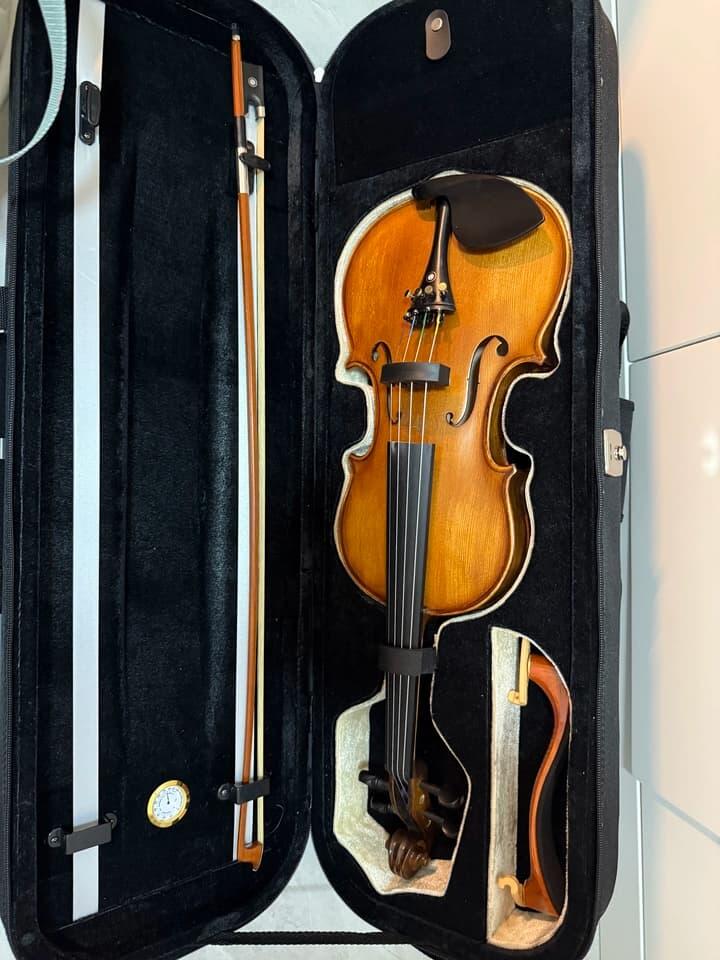
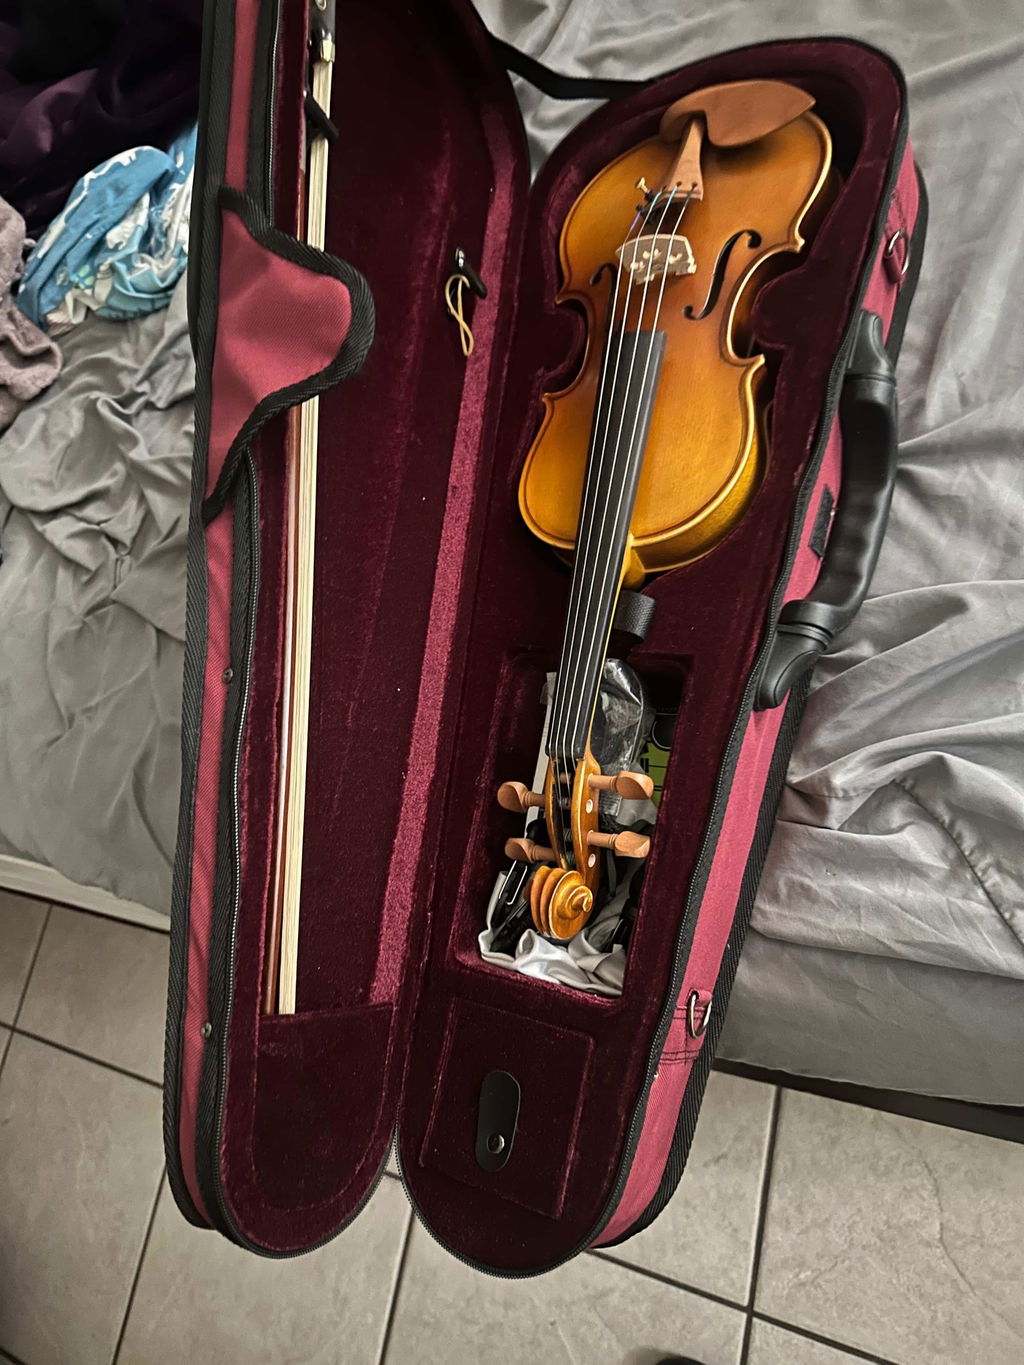
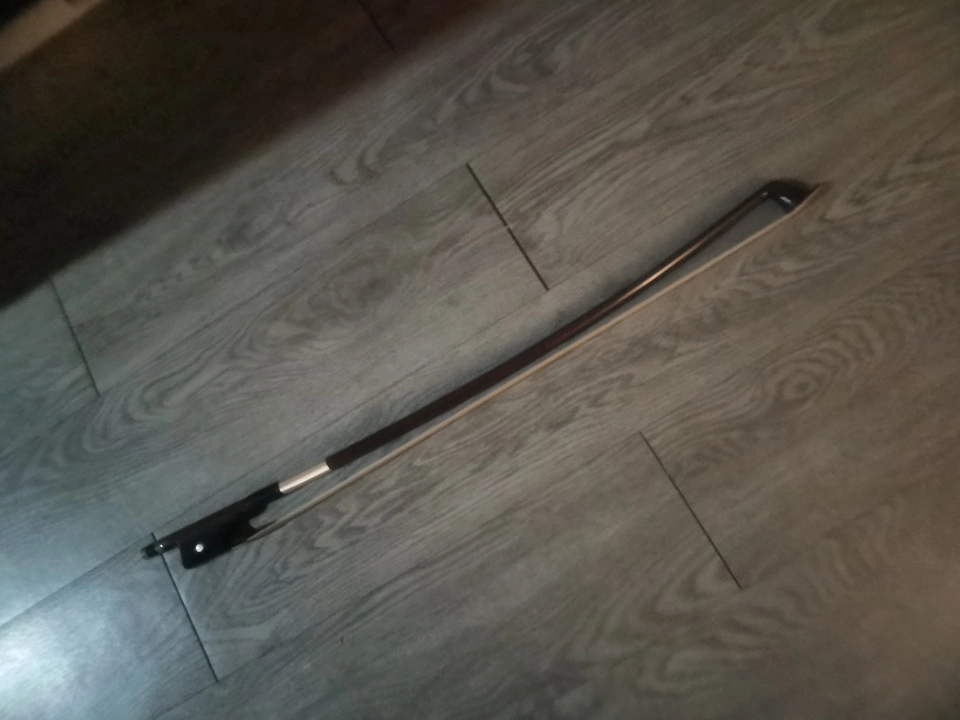
- A violin bow with clean hair
- A good-quality rosin cake
Step 1: Choose the Right Rosin
There are two main types of rosin: light and dark. Light rosin is harder and less sticky, making it ideal for warm climates and violinists who prefer a bright, crisp sound. Dark rosin is softer and stickier, suitable for cooler climates or players seeking a richer tone. Choose the one that best suits your playing style and environment.
Step 2: Prepare the Rosin
If your rosin is brand new, it may have a smooth surface that makes it difficult for the bow hair to grip. Use fine sandpaper or a key to lightly scratch the surface, creating a powdery texture that will help the rosin adhere to the bow hair.
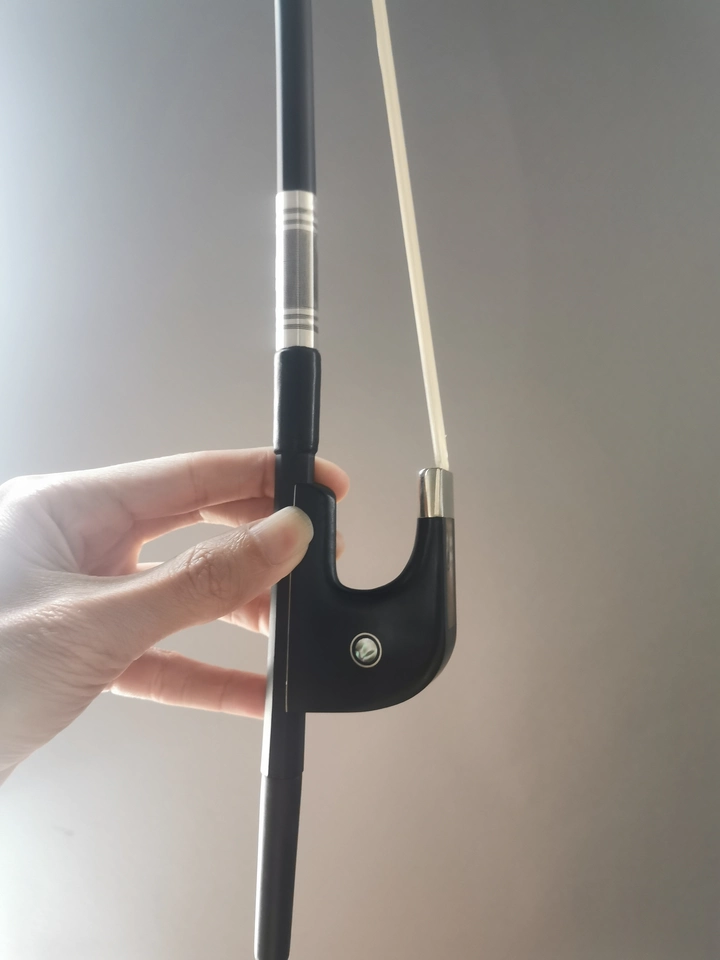
Step 3: Tighten the Bow Hair
Before applying rosin, make sure to tighten the bow hair by turning the screw at the end of the bow. The hair should be firm but not overly tight. A properly tightened bow will have a small space between the hair and the stick.
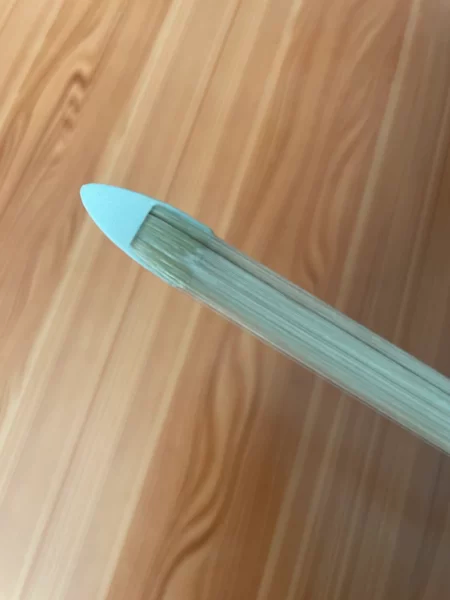
Step 4: Apply the Rosin
Hold the rosin in one hand and the bow in the other. Starting from the frog (the end near the grip), glide the bow hair along the rosin’s surface with even pressure. Move in long, slow strokes up and down the full length of the bow. Rotate the rosin slightly each time to ensure even wear.
For a new bow or freshly repaired bow, you may need to apply rosin for 3-5 minutes to ensure sufficient coverage. For a regularly used bow, 5-10 strokes should be enough.
Step 5: Check for Even Application
After applying rosin, gently run your finger along the hair (without pressing too hard). If the hair feels smooth and slippery, more rosin is needed. If there is excess white dust, you may have applied too much—simply wipe the strings with a soft cloth to remove any buildup.
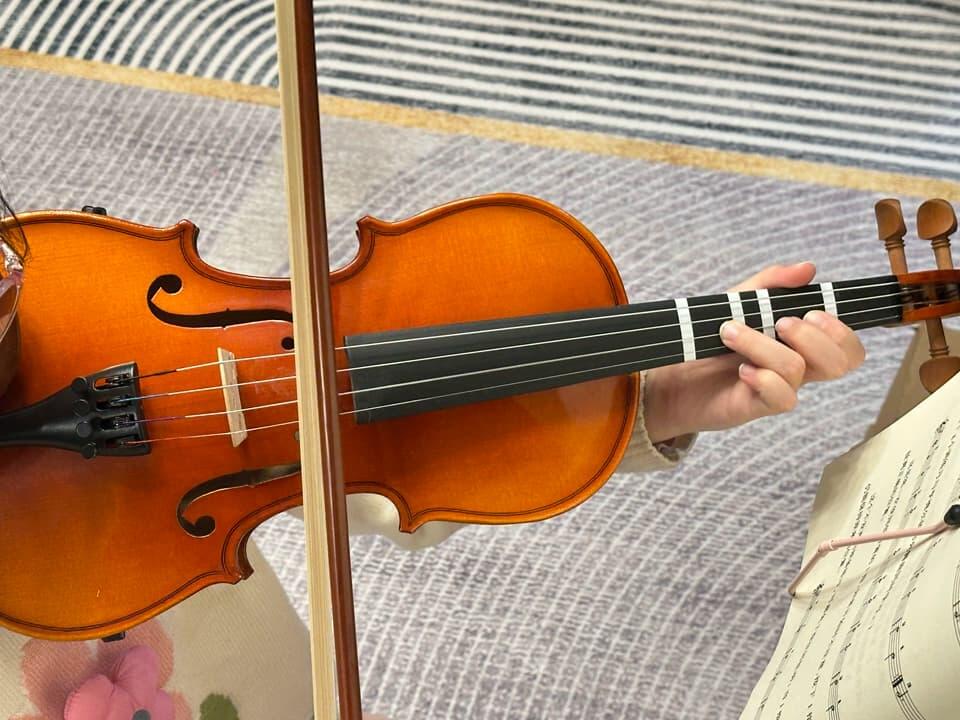
Step 6: Play and Adjust as Needed
After rosining, play your violin to test the sound. If it feels too slippery or produces a weak sound, add a bit more rosin. If the sound is too harsh or scratchy, wipe off some excess rosin from the bow hair.
Additional Tips:
- Avoid touching the bow hair with your fingers, as natural oils can reduce its ability to grip the rosin.
- Store your rosin in a cool, dry place to prevent it from becoming too soft or brittle.
- Clean your strings regularly to remove rosin buildup, which can dampen the sound quality.
By following these steps, you’ll keep your violin bow in top playing condition, ensuring a beautiful and consistent sound every time you play. Happy practicing!
Related articles recommended: