


How to protect the violin bridge?
The bridge is crucial for the sound production of a violin, functioning as a true bridge that transmits the vibrations of the strings to the violin itself. If there are issues with the bridge, the violin's sound quality will be compromised.
Conditions caused by problems with the bridge
1. Sound Quality Affected:
The bridge is a crucial component for transmitting the vibrations of the strings. Incorrect installation or damage to the bridge might lead to dull, distorted, or unbalanced tones.
2. Inaccurate Pitch:
The position and angle of the bridge affect the length and tension of the strings, consequently impacting the pitch. If the bridge is tilted or misplaced, the pitch can become inaccurate, affecting the precision of playing.
3. Uneven String Spacing:
The uneven spacing of the bridge can result in inconsistent distances between strings, affecting playability and technique during performances.
4. Changes in String Action:
The bridge's height, also known as string action, affects the distance between the strings and the fretboard. Incorrect bridge height can lead to excessively high or low string action, impacting comfort and technique while playing.
5. Noise and Resonance Issues:
Incorrect bridge placement or a damaged bridge can lead to additional noise, resonance, or unwanted sounds, impacting the clarity and cleanliness of the tone.
6. Increased String Breakage Risk:
Unstable or incorrectly angled bridge installation can elevate the risk of string breakage, as strings might experience unnecessary pressure.
7. Altered Playing Sensation:
The condition of the bridge also influences the tactile sensations of a player's fingers on the strings. Thus, an incorrect bridge can affect playing accuracy and technique.
How to check if the bridge has problems?
1. Check if the bridge is properly installed.
During transportation or tuning, the bridge's position may shift, which is normal. Beginners should learn to adjust the bridge position, and the method is simple. Refer to the following steps:
Step 1: Observe the bridge's position.
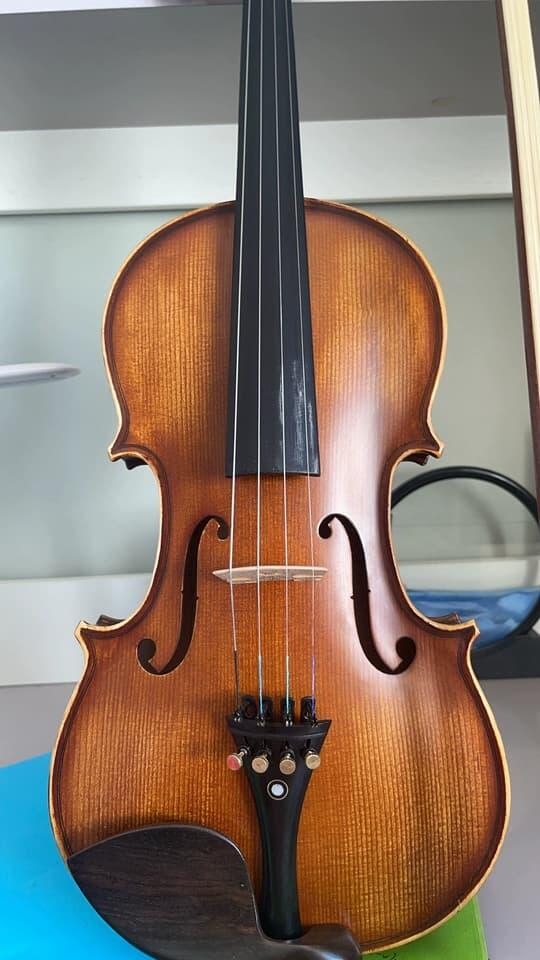
Correctly installed bridges should exhibit the following characteristics. The bridge should be positioned along a straight line formed by the grooves under the two F-holes and should be in the middle of the two F-holes. The side of the bridge with text or the side without curvature should form a 90-degree angle with the instrument's top.
Step 2: If there is an issue, loosen the strings and adjust the bridge.
Note that you must loosen the strings before adjusting the bridge position. Otherwise, attempting to adjust the bridge with the strings tightened can lead to a bridge or top damage.
Step 3: Tune.
Bridge adjustment should be done in conjunction with tuning to achieve an accurate pitch. After positioning the bridge, slightly tighten the E and G strings, then tighten the A and D strings. Finally, tighten all strings based on the tuning situation. This minimizes the bridge's movement during string tightening.
2. Check if the bridge is deformed or damaged.
Extended use might cause the bridge to deform or sustain damage. In such cases, the bridge cannot be used and should be replaced immediately.
3. Check if the strings are sunken into the bridge.
This can be observed directly. Generally, the area where the E string contacts the bridge might experience string sinking if not adequately protected. If this occurs, it's necessary to assess the string height's correctness and whether discomfort is felt during playing. If playing is affected, the bridge needs replacement.
How to protect the violin bridge?
1. Properly Positioning the Violin:
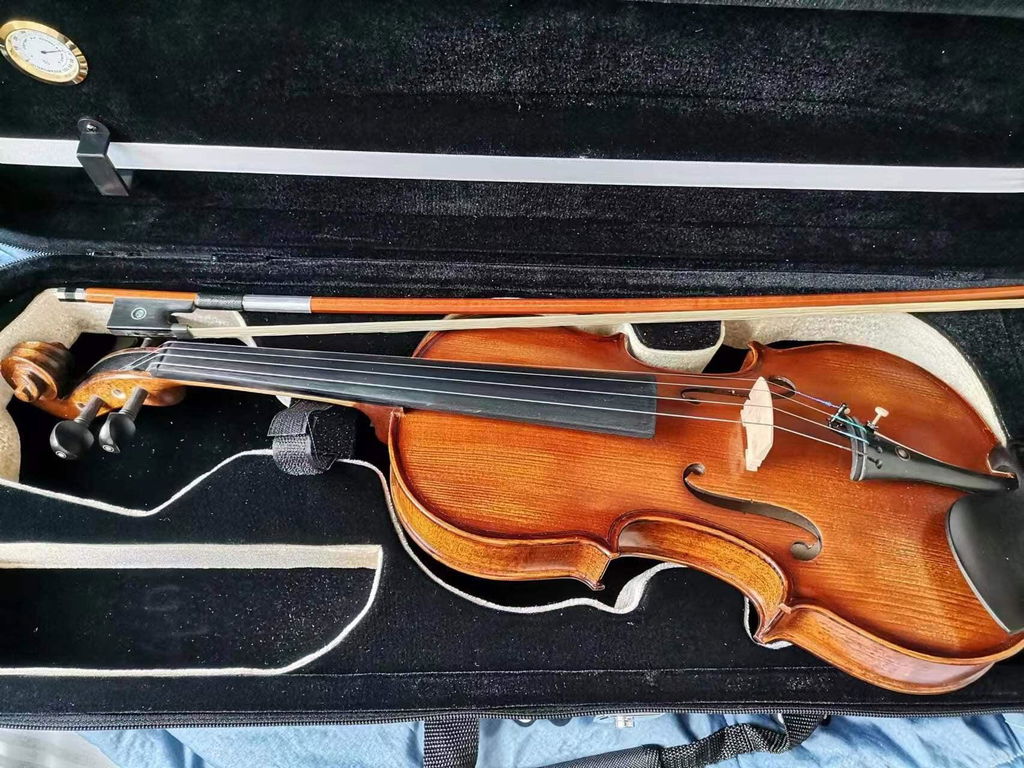
When not in use, ensure that you place the violin correctly inside the case to prevent unnecessary pressure or collisions on the bridge.
2. Installing Bridge Protectors:
As mentioned earlier, consider using devices like bridge protectors, patches, or bridge covers to minimize direct contact between the bridge and the top plate, thus reducing the risk of wear.
3. Adjusting String Tension:
Regularly inspect the tension of the strings to ensure they're not excessively tightened, as this can exert extra pressure on the bridge.
4. Gentle Tuning:
When adjusting the pitch of the strings, gently manipulate the tuning pegs to avoid excessive force that could exert unnecessary pressure on the bridge.
5. Avoiding Collisions:
During playing or transporting the violin, be cautious to prevent collisions with objects, especially hard surfaces, to avoid damaging the bridge.
6. Regular Inspection:
Regularly check the bridge's position to ensure it is perpendicular to the top plate and is not leaning or distorted. If issues are found, make adjustments promptly.
7. Keeping the Top Plate Clean:
Regularly clean the top plate to prevent dust and dirt buildup around the bridge area, which could adversely affect the bridge.
8. Periodic Maintenance:
Perform regular maintenance on the violin by having a professional luthier inspect the bridge's condition and make necessary adjustments and upkeep.
9. Gentle Playing:
While playing, aim to maintain a gentle touch with your fingers, avoiding forceful strikes on the strings to minimize the impact on the bridge.
Related articles recommended reading
The Best violin Beginner's Guide: Strings, Bridges, and Tuning