


The Best violin Beginner's Guide: Strings, Bridges, and Tuning
Are you overwhelmed when you change the violin strings for the first time? Do you know how to tune your violin when practicing on your own? Don't worry, next I will go into detail about strings, bridges, and tuning.
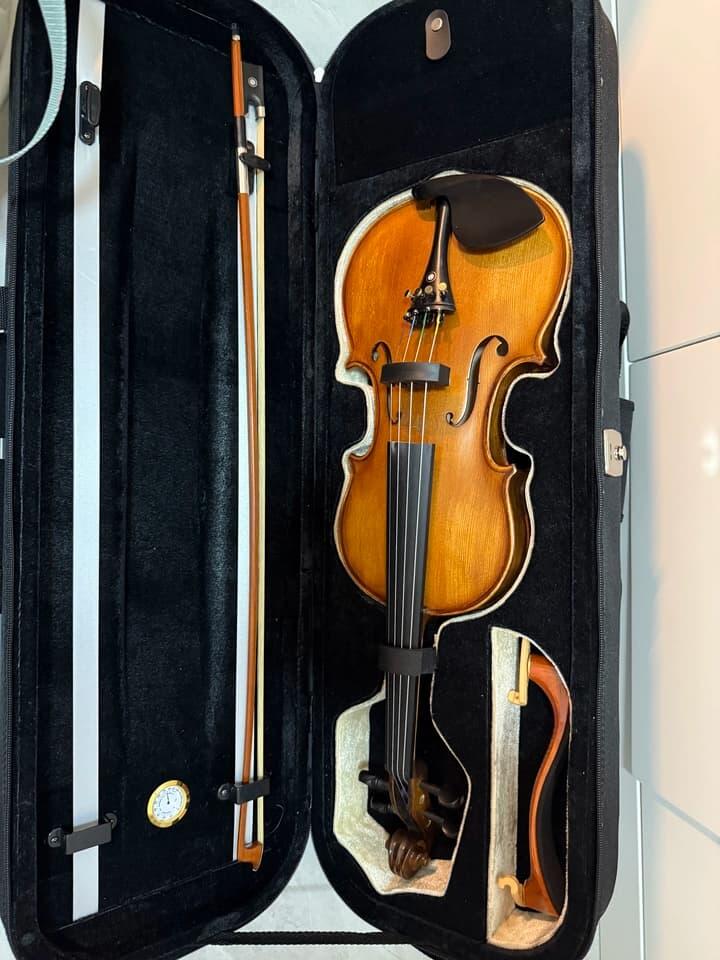
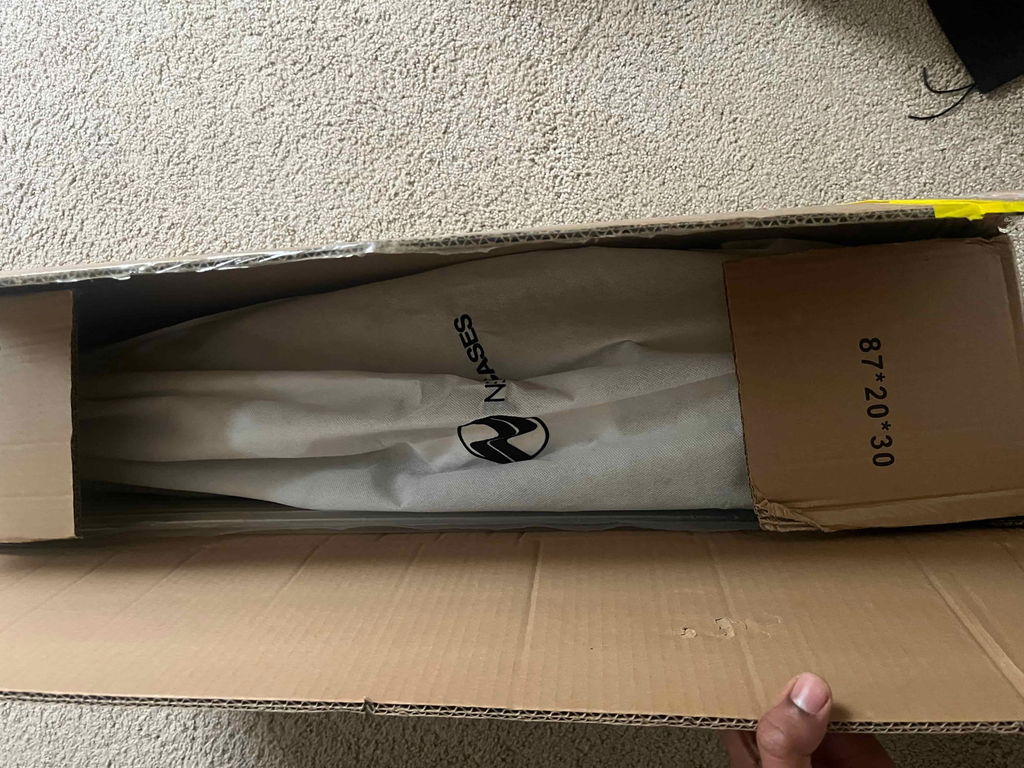
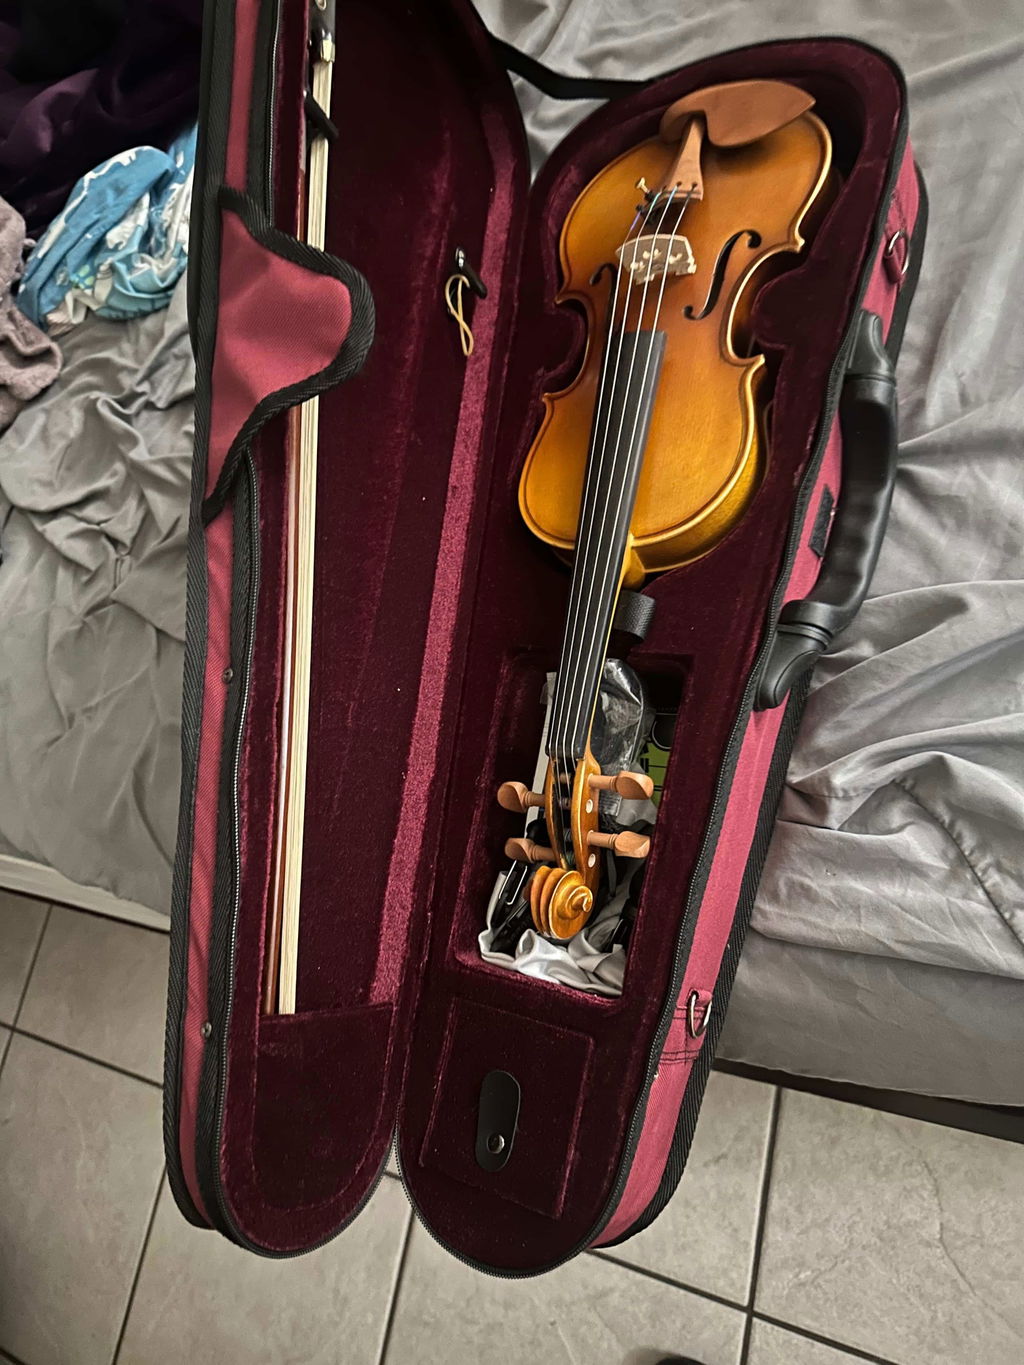
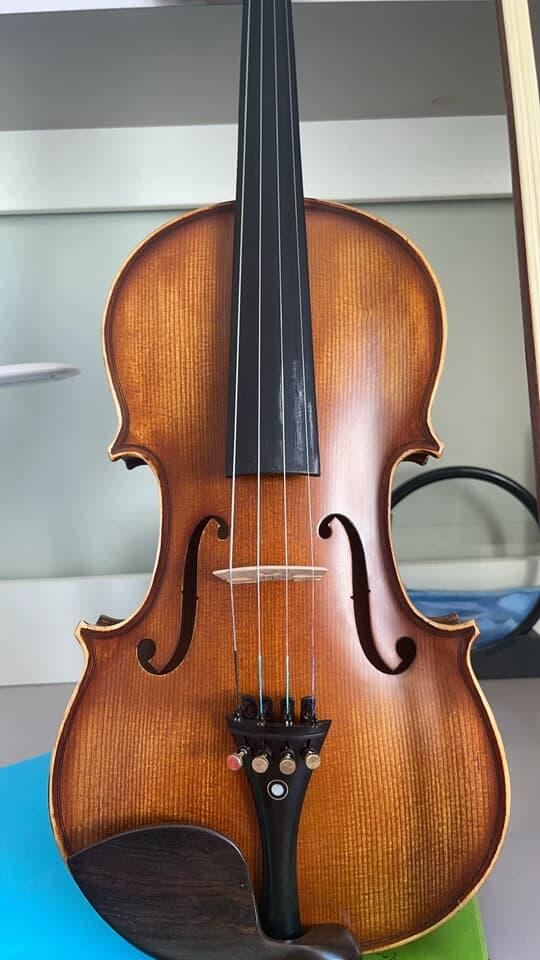
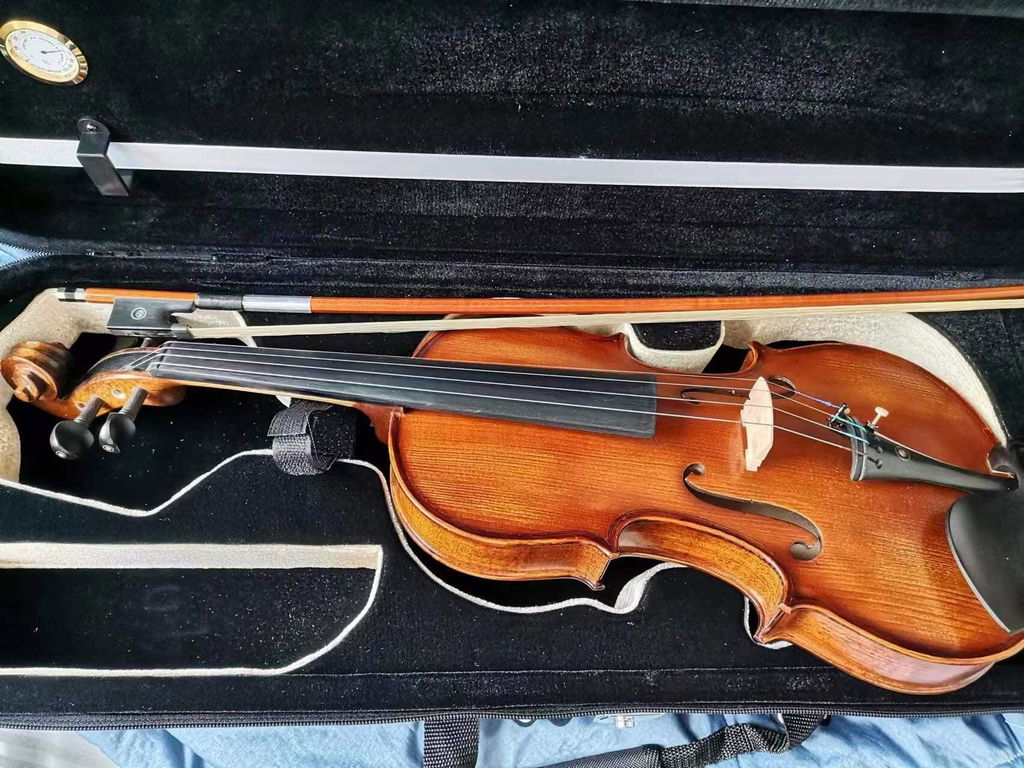
Generally, a violin that has just been purchased will be set up when you receive it. But the merchant's setup is only installed or has already installed the most difficult sound post correctly. So you still need to adjust the violin or install the bridge before you can use it. Before we start the introduction, if you are a beginner, you need to understand the basic violin construction. The parts that will be used next are the pegs, strings, bridge, fine tuners, and tailpiece.

How to change violin strings?
It is very simple to change the strings, you only need to master the specific operation steps to try it out. Maybe it will be more difficult for you to change it by yourself the first time, but it will be much better the second time.
A violin has 4 strings in total, namely E, A, D, and G. Generally speaking, there are two situations when replacing strings. One is that only one of the strings needs to be replaced. Another situation is where all the strings need to be replaced. If it's the first case, then you just need to replace the old string with the new one. If it's the second case, then you'd better change the E and G strings (or A and D strings) first, and change the A and D strings (or E and G strings) last. The purpose of this is to avoid as far as possible the position of the bridge due to changing the strings. After determining the strings you need to change, you can try the following methods.
Step 1: Remove the Old Strings
Operation method: Find the string that needs to be replaced, and then turn the corresponding peg counterclockwise to relax the string until it is completely relaxed. Then remove the string from the small hole in the peg. Finally, remove the other end of the string (ball or loop) from the tailpiece.
Precautions:
1 When turning the peg, you can gently hold the strings with your hands to prevent the strings from bouncing suddenly.
2 When removing the strings from the small hole of the peg, be careful not to be caught by the strings. The strings at this end are sharper.
Step 2: Lubricate the Pegs, Bridge, and Nut (Optional)
Operation method: If you feel that the pegs are slipping, you can use peg paste. Its job is to prevent slippage and lubricate the peg. There are no professional tools for the grooves on the bridge and the nut. You can use a pencil to paint, and it can also protect and lubricate.
Precautions:
1: If there is a bridge protector on the E string, then there is no need to paint it with a pencil.
Step 3: Determine the Correct Strings
Operation method: If you are replacing a D string, the new string needs to be a D string as well. If you are replacing all the strings, then the E, A, D, and G strings need to be replaced accordingly.
Precautions:
1: If the replaced strings are still usable, they can be placed in a new string bag, so that if the strings break, there are temporary spare strings that can be used.
Step 4: Install New Strings
Operation method: Pick up the string (the end without a ball or loop) and pass it through the small hole of the peg. It needs to pass through the small hole completely and expose some. Next, you can hold down the exposed string with your hand or other objects so that it hangs on the peg like a hook.
Then turn the peg clockwise (the direction in the peg is tightened), but don't overtighten, just make sure the string wraps around the peg. At this time, the strings wound on the pegs can determine the actual length of the strings used. It should also be noted that the strings need to be placed on the saddle correspondingly, so they need to be placed at a suitable angle. Of course, the most important thing in this process is to make sure that the strings don't fall off the pegs.
After winding the strings around the pegs, tighten the pegs slightly (to adjust the actual length of the string used). At the same time, install the other end of the string (the end with the ball or loop) on the tailpiece (just put the ball or loop into the hole of the tailpiece and pull it tight). The strings can be gently pulled by hand to ensure that the strings are not too loose.
After installing both ends of the string, gently pull the string with your hands, and slowly tighten the peg (do not need to be too tight, it will still be tuned in the end). At this time, make sure the strings are pressed against the corresponding grooves in the bridge.
Precautions:
1: You can hold the strings with your hand or other objects, and then tighten the pegs. This will easily make the exposed strings stick to the pegs, which can act as a hook to keep the strings from falling off the pegs. When pressing the exposed strings in the string hole with your hands, be careful not to be caught by the strings.
2: When winding the strings on the peg, if you find that the other end of the string cannot be installed into the tailpiece, then it means that you have wound too many strings, and you need to release the strings from the peg (Be careful not to let the string come off the peg).
3: When holding the strings with your hands, be sure to tighten the pegs slowly. If the strings are too fast, the strings will easily hurt your hands. When you feel some pressure in your hands, you can loosen the strings.
Step 5: Check Bridge Position
Operation method: Whether the bridge is installed correctly mainly depends on whether the position and angle are appropriate. The installation position should be aligned with the groove above the F hole. There are two grooves on the F hole, which should be aligned with the lower groove (near the end of the violin). Second, the bridge should also be in line with the fingerboard and tailpiece. You can put the violin flat and then observe from the end of the violin whether the tailpiece, the bridge, and the fingerboard are in a straight line. For the angle, you need to observe whether the bridge and the top plate are at right angles. The installed bridge will fit the top plate and form a 90° right angle with the top plate.

Precautions:
1: When installing the strings, even if you are very careful, sometimes there will be a slight displacement of the bridge, so it is generally necessary to check.
2: When adjusting the position of the bridge, you can properly loosen the four pegs, and then adjust. Do not forcefully move the bridge when the strings are very tight, as this may damage the top plate or bridge.
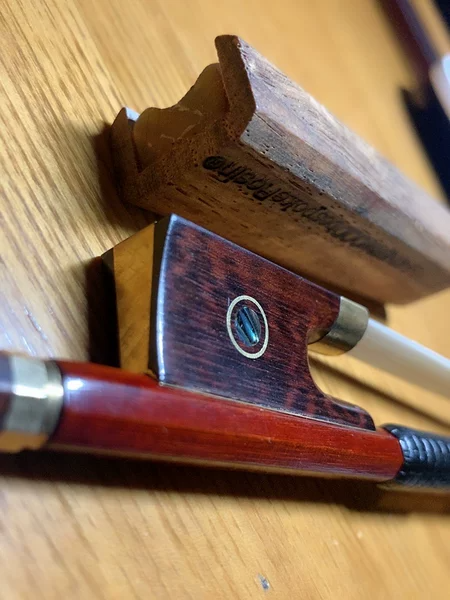
3: Generally speaking, the side of the bridge with words needs to face the tailpiece. If there is no word on the saddle, observe the two sides of the saddle, the sloped side is facing the tailpiece, and the straight side is facing the fingerboard.
4: If you want to know more about the bridge, you can read "Mysterious Violin Bridge".
Step 6: Tuning
Finally, you can finish tuning by using a tuner or other methods, and at this point, your strings are completely updated.
How to tune a violin for beginners?
Believe me, if you play on a violin that is out of tune, the sound will make you want to throw away your beloved violin.
There are many ways to tune a violin, such as using a tuning fork or a piano to hear the correct sound and then tune the corresponding strings. Or you can use the tuning APP on your mobile phone to assist in tuning. Professional violinists or violin teachers can tune through their own experience. But for beginners, the easiest way is to use an electronic tuner for tuning. Next, we will introduce in detail how to use the electronic tuner for tuning.
Tuning with an electronic tuner
Parts of the violin involved in tuning: pegs, fine tuner, bridge, and sound column. Among them, the bridge needs to be in the correct position and angle (introduced above). The sound column will also affect the pitch of the violin, but generally, there is no need to adjust it, it is already installed. If you find that the position of the sound column is not correct, you can only find professional maintenance personnel to adjust it (it is difficult for beginners to adjust or install the sound column). Therefore, you only need to adjust the pegs and trimmers and tune them with the electronic tuner.
Operation method:
Tuning is sequential and needs to be adjusted in the order of A-D-G-E first, with the A string being adjusted first, and the E string being adjusted last.
Turn on the tuner and set the tuner to violin mode (V is displayed at the bottom of the screen). When using an electronic tuner, first clip the tuner to the headstock and turn the screen so that you can see it.
Pluck the string, and the tuner will display the value at this time. If it is an A string, then the tuner needs A and the pointer is in the middle. At this time, the tuner will change color, so it proves that it has been tuned. If the tuner value is not A, then you need to tighten the peg, and you need to press in slightly harder when tightening the peg. Until you see the value A. At this time, you can use the fine tuner to adjust the pointer to the middle of the screen, so that the color of the tuner will change. If the pointer is on the left side, the strings are still not tight enough and need to be adjusted by tightening the fine tuner. If the needle is on the right, the strings are too tight and the fine tuner can be loosened. (Note: When tuning, you can put a wiper cloth between the fine tuner and the top plate to prevent the fine tuner from pressing against the top plate)
Finally, adjust the four strings A-D-G-E in order, and then check them separately to complete the tuning.
Precautions:
1: The G-D-A-E value of the tuner is directly related to the tightness of the peg. The tighter the peg, the closer it will be to E. Therefore, it is necessary to flexibly adjust the tightness of the peg to ensure that each string has the correct sound.
2: You need to rotate slowly when tuning, remember not to use too much force or if the angle of rotation is too large, just adjust it little by little, otherwise it is easy to break the strings.
3: The tuner is only an auxiliary function, as long as the displayed value is correct and the pointer is close to the middle of the screen, there is no need to pursue everything that is completely correct.
4: You can use the tuner while playing the violin.
Video Guide to Installing Strings, Bridge, and Tuning
If the text is not very intuitive, then you can watch the video below to understand the specific operation.
Follow Fiddlover to learn more about violins.

1 comment
Very useful, thanks for sharing, especially the video, very detailed.