


How to Improve Your Violin Sound Through Adjustments
Even the finest Stradivarius will not sound its best if it is poorly adjusted. On the other hand, with the right setup, even a modest instrument can exceed expectations. Today, I’d like to share several proven techniques that can help you improve the tone of your violin (or viola, cello, and bass).
When it comes to adjustments, every instrument is unique. My personal approach often begins with the soundpost, but changes to the bridge, tailpiece, or strings can also transform the sound. If one adjustment does not produce results, it may indicate that other adjustments will also be less effective.
One golden rule I follow: never make changes without a clear purpose. If a modification does not improve the sound, it’s best to return the setup to its original state. Another important principle is to address major issues before focusing on small details—over-tuning minor aspects can sometimes harm the overall balance of the instrument.

1. Tailpiece and Tailgut
A lightweight tailpiece usually produces a better sound than a heavier one, but its shape and geometry are also crucial. For professional violinists looking to enhance tonal richness and projection, I often recommend a lightweight tailpiece with a sloped design. This increases the afterlength of the strings, balancing overtones and enhancing resonance—especially in the lower strings.
Personally, I prefer nylon tailguts because they are easy to adjust. The length of the tailgut can significantly affect sound quality. As a rule of thumb, the distance from the tailpiece to the saddle is typically around 5–7 mm, but each violin is unique. Experimentation is often necessary to find the “sweet spot.”
2. Bridge Shape and Position
The bridge acts as the heart of the violin’s vibration system, and its shape and placement can dramatically affect tone.

-
Bridge Shape:
-
A taller, thinner bridge with most mass concentrated on the upper section can produce a sharp, bright sound—useful for instruments that sound dull or sluggish.
-
A lower, shorter bridge with its mass closer to the violin top often creates a warmer, deeper tone, though sometimes less brilliant.
-
-
Bridge Position:
The left bridge foot should align directly above the bass bar. If it only partially overlaps, vibration transfer may be inefficient. Luthiers often check this by inserting a card under the f-hole and marking the bass bar position.
3. Soundpost Adjustment
The soundpost is often described as the violin’s “soul.” If it is poorly fitted or placed incorrectly, the sound will be weak, hollow, or unresponsive.
-
If the soundpost is too tight, it won’t move easily, choking the sound.
-
If it is too short, it will move too freely—better to replace it with a properly sized post.
-
If the tone is too harsh or sharp, move the post slightly backward (away from the bridge).
-
If the sound is dull or muffled, nudge the post slightly closer to the bridge.
-
For string balance issues, adjust the top or bottom of the post: the lower end often affects bass strings, while the upper end influences treble strings.
Simple as it sounds, these subtle changes can make a dramatic difference.
4. Choosing the Right Strings
Strings have a huge impact on violin tone, responsiveness, and playability. Modern brands such as Thomastik-Infeld, D’Addario, Pirastro, and Super-Sensitive offer a wide range of excellent options.
I recommend experimenting, as each set of strings interacts differently with your violin. In my own experience, strings should generally be replaced every 5–6 weeks of daily playing, since they gradually lose clarity and brilliance.
Additional tips:
-
Use gentle bow pressure when testing strings.
-
Make sure you’re using enough rosin—synthetic strings often require more to avoid slipping.
-
For fast passages, try plucking or lightly bowing to check clarity and articulation.
Final Thoughts
Improving your violin sound is a process of careful adjustments, experimentation, and patience. From the tailpiece and bridge to the soundpost and strings, each element plays a role in shaping tone. With the right setup, you can unlock the full potential of your instrument—whether it’s a beginner violin or a fine professional model.
At Fiddlover Violin Shop, we understand how important proper adjustment is. That’s why we not only offer quality violins but also expert advice and setup guidance to help you achieve your best sound.
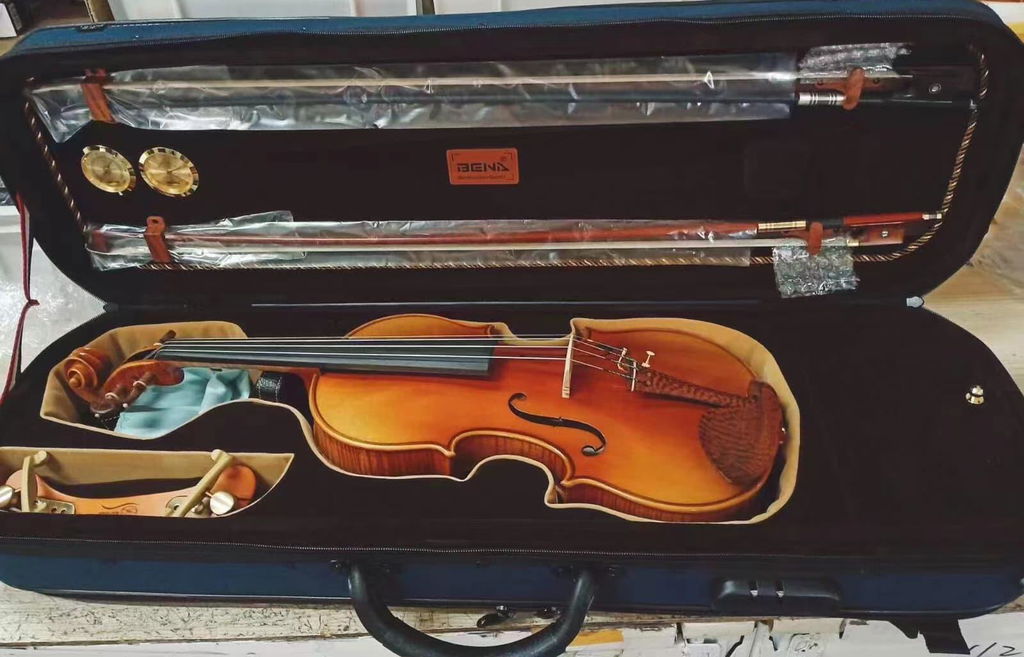
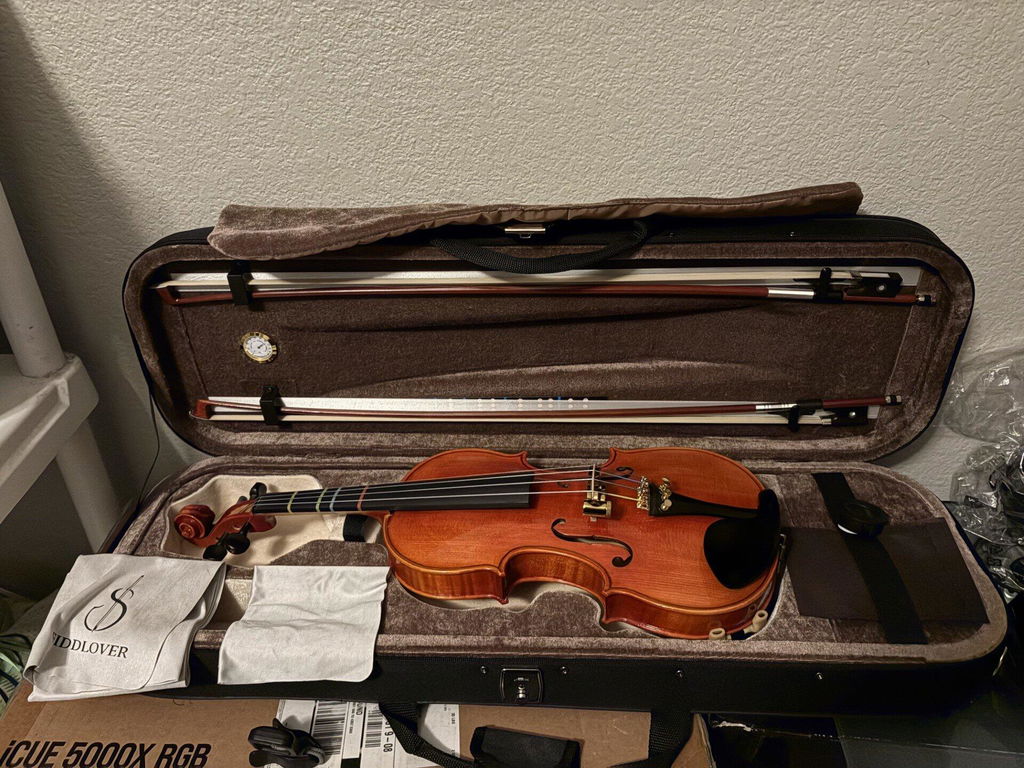
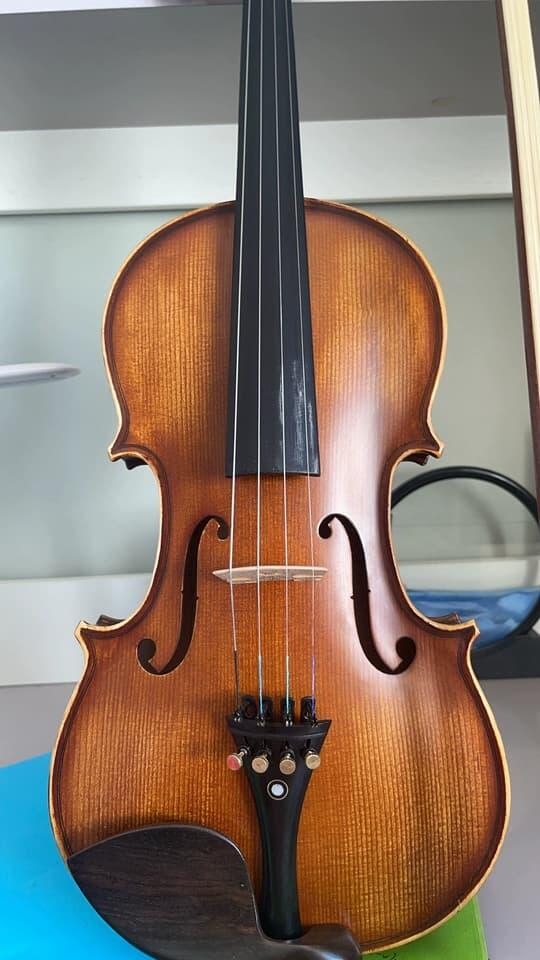
Recommended violins for beginners:
Click on Beginner Violin Outfit Q033 to learn more.