


Still Sounding Like You're Sawing Wood? 9 Violin Basics That Fix It
Let's be honest — when most people first pick up a violin, it sounds less like music and more like stepping on a cat. That scratchy, screeching sound (violinists jokingly call it "sawing wood") is completely normal at the start. Every great violinist was once a terrible beginner. The difference between "nails on a chalkboard" and "goosebumps on the audience" comes down to mastering a set of core fundamentals.
Standing PostureYour Power Base
Before you even think about playing a note, your body position matters more than most beginners realize. Bad posture doesn't just look sloppy — it causes tension, fatigue, and even injury over time.
How to stand correctly
- Place your feet about shoulder-width apart, with both feet pointing slightly outward (like a gentle "V" shape).
- Shift your weight slightly forward onto the balls of your feet — not rocking back on your heels.
- Keep your knees loose (not locked) and your spine naturally tall.
- Relax your shoulders down and away from your ears — tension in the shoulders kills your tone.
Holding the ViolinThe Magic Triangle
The violin is supported by three points working together — your collarbone, your chin/jaw, and your left hand. Together, they form a stable triangle that keeps the instrument secure without any muscle death-gripping.
The three contact points
- Collarbone: The violin rests here passively. It's not doing heavy lifting, just providing a shelf.
- Chinrest: Your jaw (not just your chin) should comfortably cradle the chinrest. Think "resting," not "gripping."
- Left hand: This is your active support point. Your thumb and fingers gently hold the neck of the violin from below.
A shoulder rest is highly recommended for most beginners — it closes the gap between your shoulder and the instrument. Many professional players use them too, so don't let anyone tell you it's "cheating."
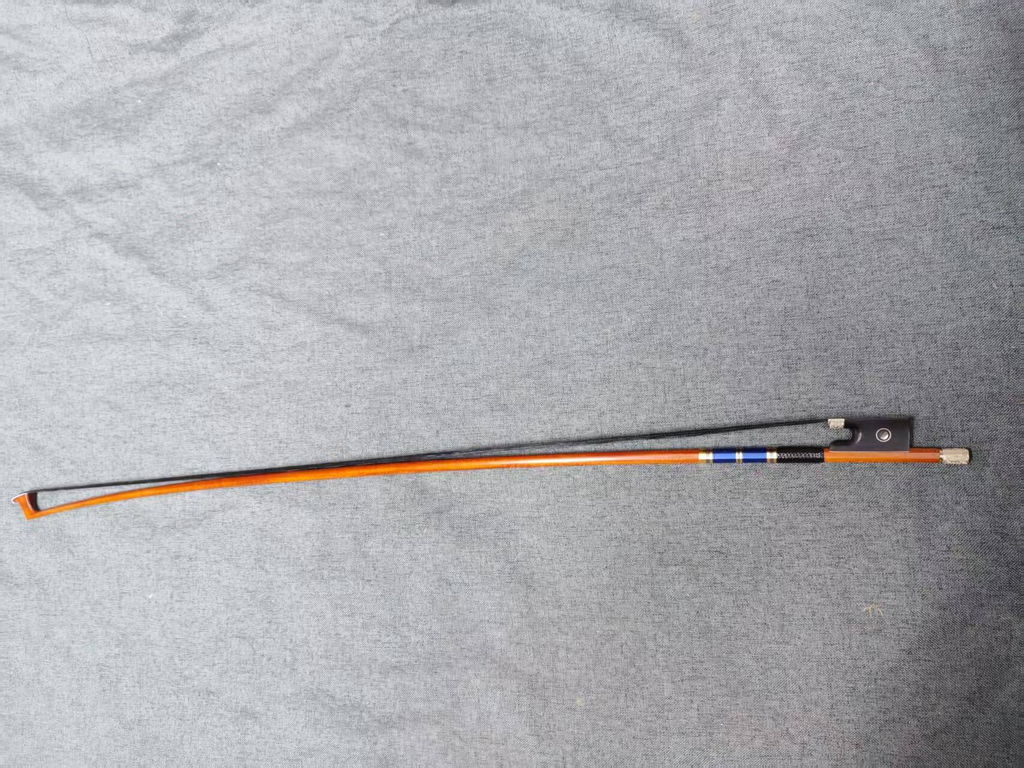
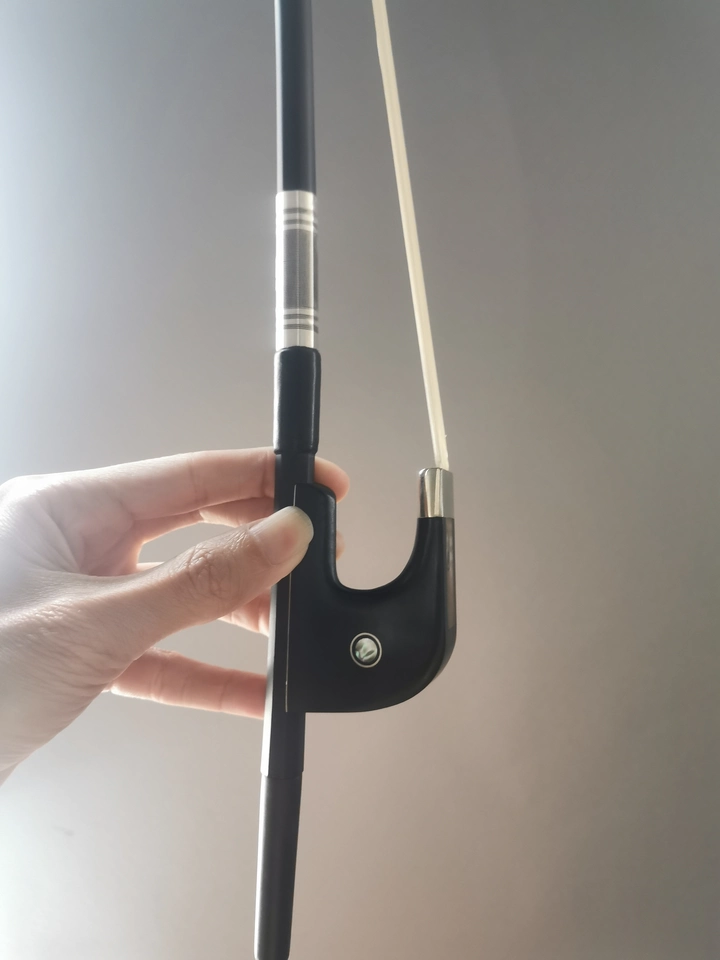
Bow TechniqueThe Soul of Violin Playing
Here's something most beginners don't realize: the bow is what makes the sound, not the fingers. Your right hand controls volume, tone color, speed, and style. It's called "the soul of violin playing" — and for good reason.
The 4 basic bow strokes
Open String PracticeRight Hand Boot Camp
Open strings are strings played without pressing any fingers on the fingerboard. Practicing open strings might sound boring — no melody, no music — but it's one of the most valuable drills you can do as a beginner.
When your left hand isn't busy pressing notes, your brain can fully focus on your right arm and bow control. You're training movement without distraction.
Four zones to practice
- Full bow: Frog to tip in one smooth motion. Trains overall arm coordination.
- Upper half bow: Top half only. Focuses on forearm and wrist control.
- Lower half bow: Bottom half only. Focuses on upper arm and shoulder movement.
- Middle of the bow: Center section only. Great for wrist flexibility.
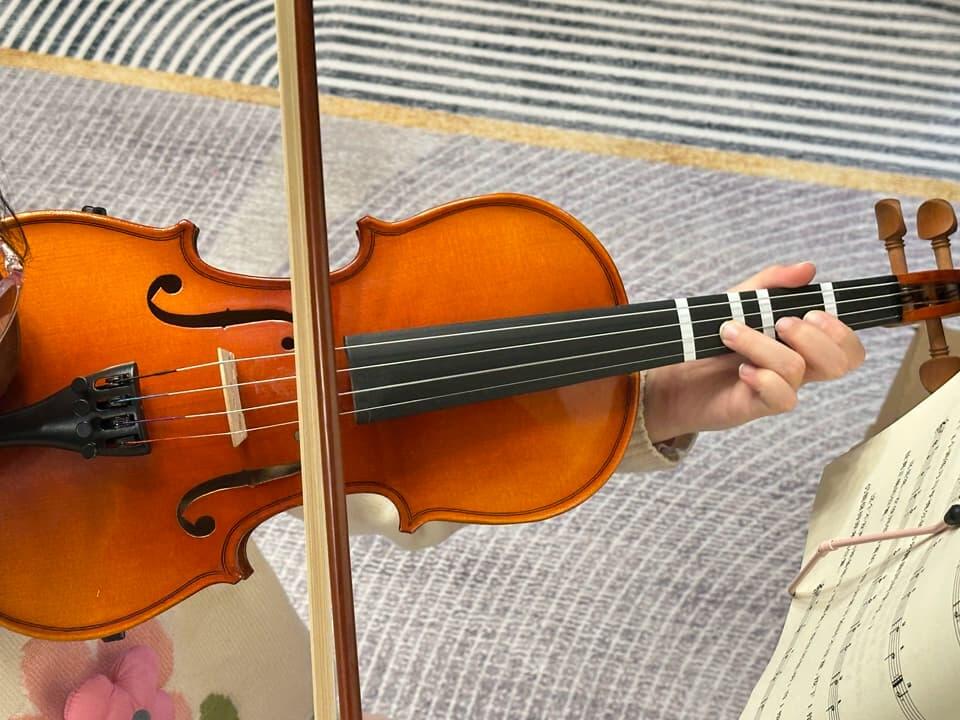
Finger PositionsYour Left Hand Roadmap
Unlike guitar, the violin has no frets. Your fingers have to land in exactly the right spot every single time — and this is learned through muscle memory, not luck.
Understanding positions
A "position" refers to where your left hand sits on the neck. In first position (where beginners spend most of their time), your first finger sits near the scroll end of the fingerboard. Moving your hand closer to the bridge puts you in higher positions (second, third, fourth, etc.), reaching higher notes.
Shifting between positions
Moving from one position to another is called shifting. Common techniques include shifting on an open string, same-finger shifts, and guide-finger shifts.
Double Stops & ChordsPlaying Multiple Notes at Once
One of the coolest things about the violin is that it can play two notes simultaneously — and with technique, even three or four in a chord. This is what gives solo violin its rich, full sound without any backup band.
Key multi-note techniques
- Double stops: Two notes at once on adjacent strings. Common intervals: thirds, sixths, octaves, and tenths.
- Three-note chords: The bow plays two strings and "rolls" quickly to include a third, requiring precise bow angle control.
- Four-note chords: Because violin strings are curved, you "break" the chord in a quick rolling motion for a powerful effect.
Double-stop scales (thirds, sixths, and octaves) are standard in conservatory training worldwide and are considered a lifelong practice area — even for professionals. Other advanced left-hand techniques include harmonics (a flute-like tone), pizzicato (plucking), and left-hand trills.
VibratoGiving Your Notes Life
If posture is the foundation and bowing is the soul, then vibrato is the personality of violin playing. It's the warm, shimmering oscillation of pitch you hear when a violinist plays a long, expressive note — produced by a rocking motion of the finger, wrist, or arm.
Three types of vibrato
- Finger vibrato: Rocking from the finger itself. Produces a narrow, controlled oscillation — great for fast, light passages.
- Wrist vibrato: The wrist drives the motion. Balanced and versatile — what most players default to for lyrical phrases.
- Arm vibrato: The entire forearm swings like a pendulum. Wide, warm, expressive — used in romantic and emotionally intense passages.
Great violinists blend all three depending on the music's emotional message. Vibrato is also how audiences identify a player's personal "sound" — it's as distinctive as a singer's voice.
RhythmThe Skeleton of Music
Here's a mistake almost every beginner makes: focusing entirely on hitting the right notes and ignoring the rhythm. This creates playing that sounds hesitant and "off" — even when every pitch is correct.
Think of rhythm as the skeleton of a song. You can change the melody, but the rhythmic structure holds everything together.
How to build strong rhythmic habits
- Always use a metronome. Start slower than you think you need to.
- Clap or tap the rhythm before you play it. If you can't clap it, you can't play it.
- Count out loud while playing. "1-and-2-and-3-and-4-and" keeps you honest.
- Break complex rhythms into half-beat increments. Dotted notes and syncopation become much easier when you subdivide.
- Record yourself. Your brain fills in gaps while playing; recordings reveal the truth.
IntonationStaying in Tune Without Frets
Ask any violin teacher what beginners struggle with most, and intonation will be at the top of nearly every list. Intonation means playing in tune — producing the correct pitch for each note, with no frets to guide you.
How to improve your intonation
- Learn your "landmarks" in first position. Know exactly where each finger naturally falls on each string.
- Practice scales with a drone note. Play an open string while you play up the scale — your ear will immediately flag clashing notes.
- Use a tuner app for feedback (GuitarTuna or insTuner are great) — but don't become dependent on it. Eventually, your ears must do the work.
- Analyze your fingerings before playing a piece. Plan tricky position shifts in advance.
- Sing the notes. If you can sing a phrase in tune, your hand will eventually match it.
Your Daily Practice Plan (15–30 min)
Twenty consistent minutes every day will outpace two hours on Sunday, every time.
Frequently Asked Questions
How long does it take to stop sounding bad on violin?
Most beginners produce noticeably better tone within 3–6 months of consistent daily practice (15–30 min/day). The "sawing" phase fades quickly once bow control improves. Don't give up in the first few weeks — that's when it sounds worst for everyone.
Should I learn violin without a teacher?
You can make progress with online resources, but a qualified teacher is strongly recommended — especially in the first year. Posture and bow hold habits are easy to develop badly and very hard to unlearn. Even a monthly lesson makes a significant difference.
What size violin do I need?
Adults and teens (13+) typically play a full-size (4/4) violin. Younger children use fractional sizes (1/2, 3/4, etc.) based on arm length. Using the wrong size significantly impacts technique and comfort — get properly sized before buying or renting.
Is the violin one of the hardest instruments to learn?
It consistently ranks among the most challenging, primarily due to the lack of frets (intonation) and the complexity of bow technique. "Hard" doesn't mean impossible — it just means the fundamentals in this guide matter more than they would on most other instruments.
When should I start learning vibrato?
Most teachers introduce vibrato after 1–2 years of study, once the student has stable bow technique and secure first-position intonation. Starting too early usually leads to tension and habits that are very difficult to correct later.
Every legendary violinist — from Itzhak Perlman to Hilary Hahn — was once exactly where you are right now.
Keep your bow straight, your shoulders relaxed, and your ears open. The music is already in there.