


How to make a violin? 10 steps to take you to understand the traditional Italian violin-making craftsmanship
All along, the beautiful appearance and moving melody of the violin have enriched our lives. But do you know how it is made? Next, I will take you to understand the traditional Italian violin-making craftsmanship that has been passed down for hundreds of years. Maybe you only need a few minutes to understand how your beloved violin is made by luthiers.
Table of Contents
- Violin Making Step 1:elect the wood.
- Violin Making Step 2: splice.
- Violin Making Step 3: scraping.
- Violin Making Step 4:F-holes and bass bar.
- Violin Making Step 5:synthetic violin case.
- Violin Making Step 6:inlaid thread and sanding details.
- Violin Making Step 7:engraved head.
- Violin Making Step 8:install the head.
- Violin Making Step 9:paint.
- Violin Making Step 10:assembly and commissioning.
Violin Making Step 1:elect the wood.
The raw materials for making violins are naturally dried for more than ten years before making violins. The luthier will choose the material that has been completely dry as much as possible when selecting the material, and the sound quality will be better. Generally speaking, the top of the violin is spruce and the back is maple. The headstock and side panels will be made of the same material as the back panel. The origin of the wood is the natural wood of the Alps. The famous 17th-world violin master Stradivarius used spruce from the Alps. At that time, the wood was grown in a very cold environment, and the tree rings were closely combined to form very Good acoustic properties, the resulting violins have always been regarded as classics. Of course, Stradivarius has unparalleled craftsmanship, but even the best craftsmanship requires good wood to make a beautiful violin.

Violin Making Step 2: splice.
In the more important process of making a violin, if the bonding is not strong, there is no way to make up or carry out the subsequent work. Because in this process, some violin backboards are selected from a whole piece of wood and do not need to be assembled, the types of violin backboards are divided into panels or single panels. But the two types are only different in appearance and have little effect on vocalization. In the process of piecing, it needs to be carried out in a high-temperature environment. The pig fat (a kind of adhesive, made from animal skin) must be used in a controlled amount and applied carefully. The piano board is prone to cracking.

Violin Making Step 3: scraping.
It requires a master with many years of production experience to make, and apprentices are not allowed to work with fine scrapers and are only allowed to scrape the outline of a rough violin. The scraper has a great influence on the resonance of the piano box, and the size must be made accurately, as well as the degree of arc. If this step is not made properly, it will directly affect the sound quality of the violin.

Violin Making Step 4:F-holes and bass bar.
The sound hole has high requirements on appearance, and some luthiers think that it also affects the sound quality. However, it is recognized that because the sound beam can drive the vibration of the panel, the sound beam has a great influence on the sound quality of the violin.

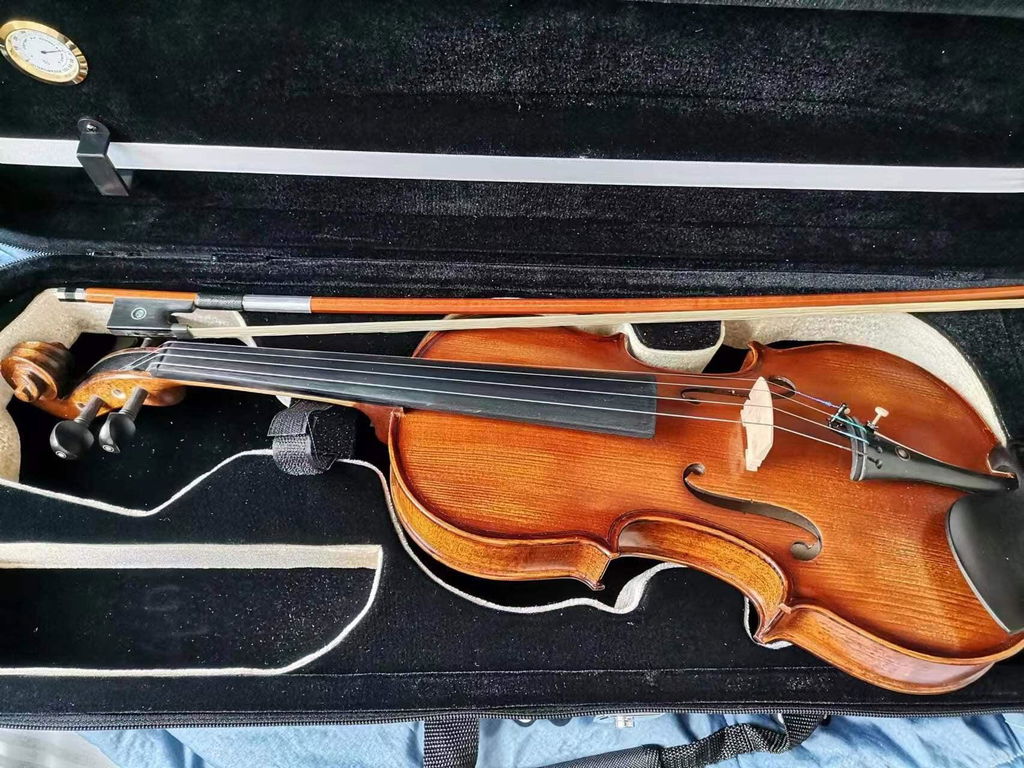
Violin Making Step 5:synthetic violin case.
It is to glue and fix the finished panel, back panel, and side panel with pigskin glue to form a violin box. It can be said that this is a relatively simple process to make a violin. This process has little effect on the sound quality, but if it is not handled properly, it may cause the violin to crack in the future.

Violin Making Step 6:inlaid thread and sanding details.
The main thing is to refine the appearance of the violin body, including the inlaid edge and the polishing of the entire violin case, as well as the edge treatment. After this process is completed, it can be said that the body of the violin is finalized.

Violin Making Step 7:engraved head.
It is a process that uses many tools and is relatively laborious work. Now it is generally carried out by first using mechanical processing, and then combining it with manual engraving. In traditional craftsmanship, this step has higher requirements on the engraving craftsmanship and artistic level of the luthier.

Violin Making Step 8:install the head.
In this step, the top of the guitar case needs to be grooved, and the carved headstock is simply processed, and then installed into the opened groove. The installation of the headstock has high requirements on the coordination ability of the luthier. The size of each part needs to be measured in the whole process, and the installation requires one step. If the fabrication or bonding is not done properly, the headstock will fall off.

Violin Making Step 9:paint.
Violin varnish is very important to appearance. Improper handling of the varnish on the better material will obscure the beauty of the raw material. At present, the types of varnishes are divided into alcohol-based paints and oil-based paints. The solvents used in the production of these two kinds of paint varnishes are different. Alcohol paints are painted with alcohol as a solvent, while oil-based paints are painted with turpentine and linseed oil as solvents. Traditional Italian luthiers initially used well-developed oil-based paints, but as the demand for violins increased, they were gradually replaced by alcohol paints (alcohol paints dried faster when they were made, so to improve production speed, at that time Italian luthiers gradually abandoned slow-drying oil-based paints in favor of alcohol-based paints). The ancient Italian oil-based paint formula and method of making it are now lost. Therefore, luthiers from all over the world tried their best to develop traditional oil-based paint, which led to the emergence of many oil-based paint categories on the market. Of course, the main role of the varnish is to prolong the life of the violin, and for the manufacturer, the varnish is a very important factor that affects the price of the violin.

Violin Making Step 10:assembly and commissioning.
This step is to complete the final process of the violin, the specific content is the installation and adjustment of the bridge and the sound column, the accessories are installed on the violin, and finally, the sound of the violin is adjusted. After completing this step, the violin is fully fabricated and ready to use.

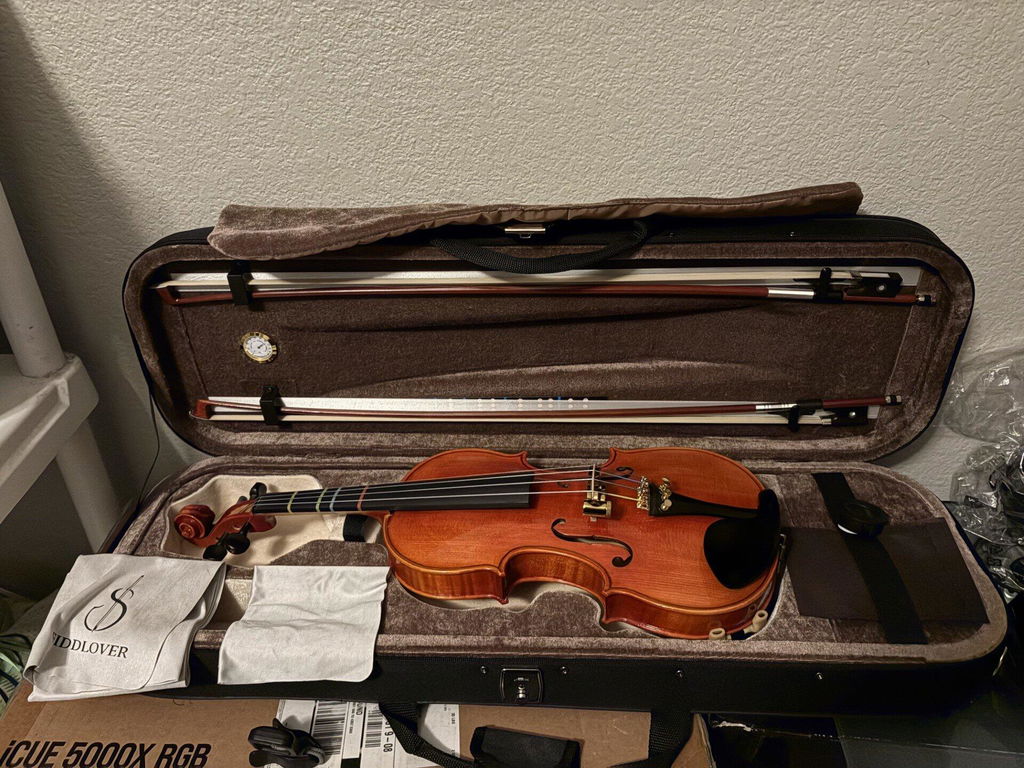
Finally, the production of a violin is very complicated and requires the luthiers to have rich experience in violin making. And Fiddlover has 30 years of experience in violin making and has a lot of practice in every step of the violin-making process, so it can provide high-quality and inexpensive violin products. Of course, our mission is to provide violinists or enthusiasts with violins, but for the performance and pursuit of music, musicians need to complete their mission and bring better melodies to this colorful world.


1 comment